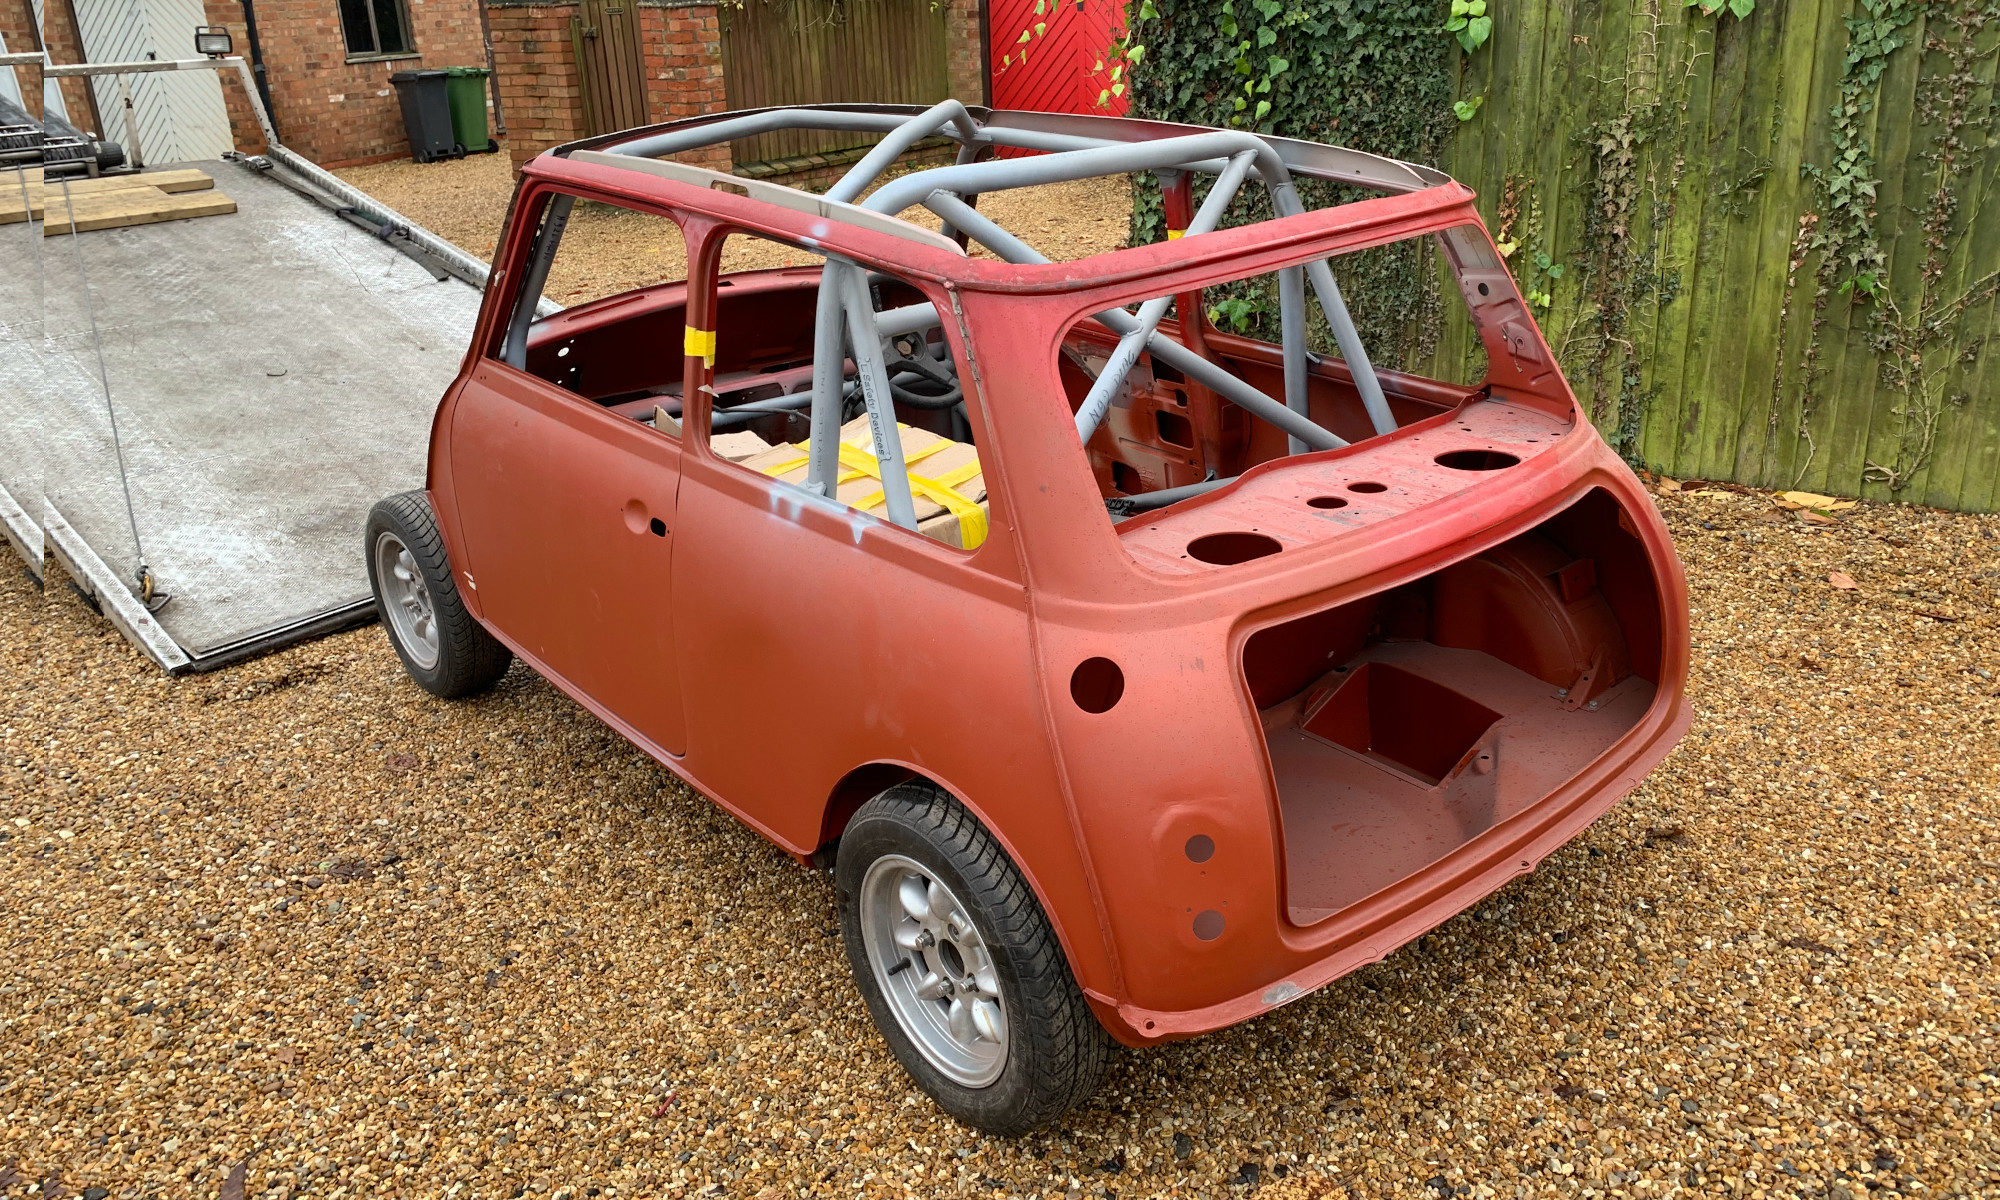
My mini was originally a carb car, which means it had a mechanical fuel pump, rather than an electronic fuel pump in the fuel tank, like the later injection cars did. This means I’d have to either run an external fuel pump in the boot, which get quite noisy, or I’d need to swap the fuel tank out for something else. I thought about a fuel cell in the boot, but I didn’t want to take up all the boot space, so I decided I’d go with a later MPI fuel tank and update the fuel pump for a higher capacity one.
The MPI fuel tank is 7.5 gallons, which isn’t much really. With a more thirsty engine, I was worried about having to fill up every 100 miles if I was on a long journey, so I decided to fit a right hand tank too. The right hand tanks only come in 5.5 gallon capacity, so that would give me a total fuel capacity of 13 gallons, which is much more like it.
My order from Mini Spares arrived and I compared the new MPI tank against my old fuel tank.


The two tanks are almost identical, other than the obvious opening in the top for the fuel pump in the new MPI tank.
One thing that annoys me about several of the parts I’ve ordered is that they don’t come with the required fasteners. For example, with the fuel tank, I ordered a brand new fuel tank and a fuel pump assembly from Mini Spares, but neither of them come with the nuts required to fasten the fuel pump to the tank (see pic below).

What I’ve been doing so far is finding out what size and thread the nuts or bolts are and ordering stainless ones, to keep it looking tidy and avoid rust. It’s not always easy to work out what I need though.
With the new tanks having arrived, I tried them on for size in the mini. One thing that frustrates me is that the left hand tank is finished in gloss black, but the right hand one is matte black. I’ll have to paint the right hand tank in gloss black to match the left one, or it’ll drive me nuts.

I couldn’t get the right hand tank into its final position just yet, as I need to make a hole in the bodywork for the filler neck. There’s also a bracket on the wheel arch, where the windscreen washer bottle mounts. I had to remove the washer bottle bracket and measure, mark up and cut the hole for the tank. That was a scary bit, but I seem to have got it about right.


Having been able to locate the right hand tank in its proper place, I can now see better where the brackets for the tank fitting kit need to go. It’s a bit of a guess, as of course there are no fitting instructions with the kit, but below is where I think the brackets need to go. I’ll try and do a bit more research before I go welding them in, but if you know anything about it, please do get in touch. Any advice appreciated on this bit!


